Menstrual Cup Stains – Everything You Need to Know
How to Prevent & Remove Menstrual Cup Stains
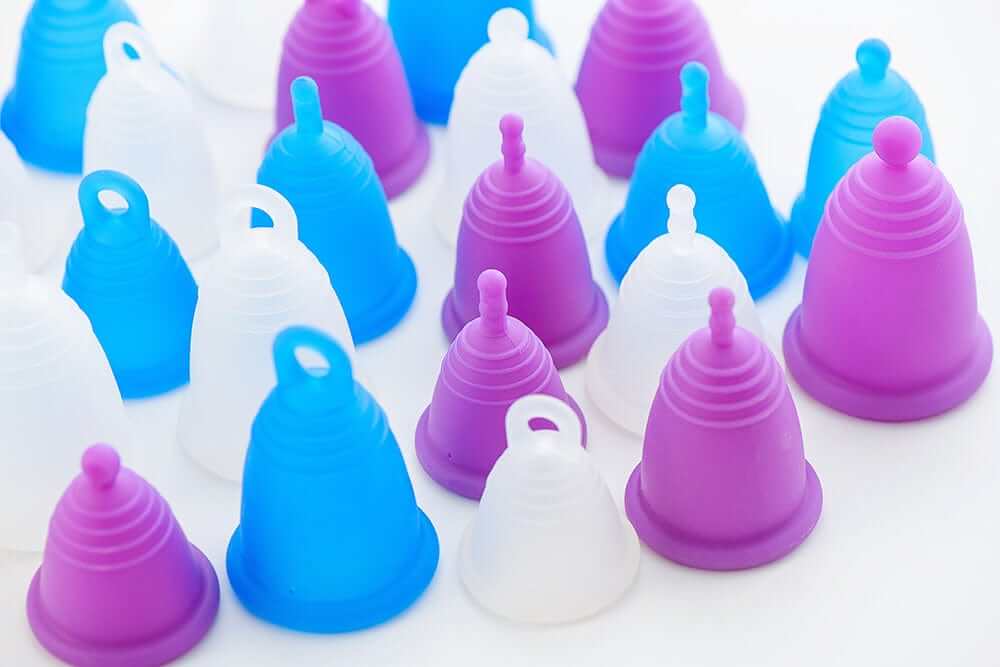
Let’s face it—menstrual cup stains can be frustrating. You start with a gorgeous cup in your favorite color, and a few months later, it starts to look dingy or discolored. But don’t worry, we’ve got tips to help you prevent stains and even reduce the appearance of existing ones.
🩸 What Causes Staining?
There are two main types of stains you may encounter with your menstrual cup:
-
Temporary stains – These are surface-level deposits from menstrual fluid that can usually be removed with regular cleaning.
-
Permanent stains – These occur when the hemoglobin in blood penetrates the cup material. This type of discoloration is much more difficult to remove and may not be reversible.
🧼 How to Remove Menstrual Cup Stains
While permanent stains are tough to erase completely, here are some methods that might help:
-
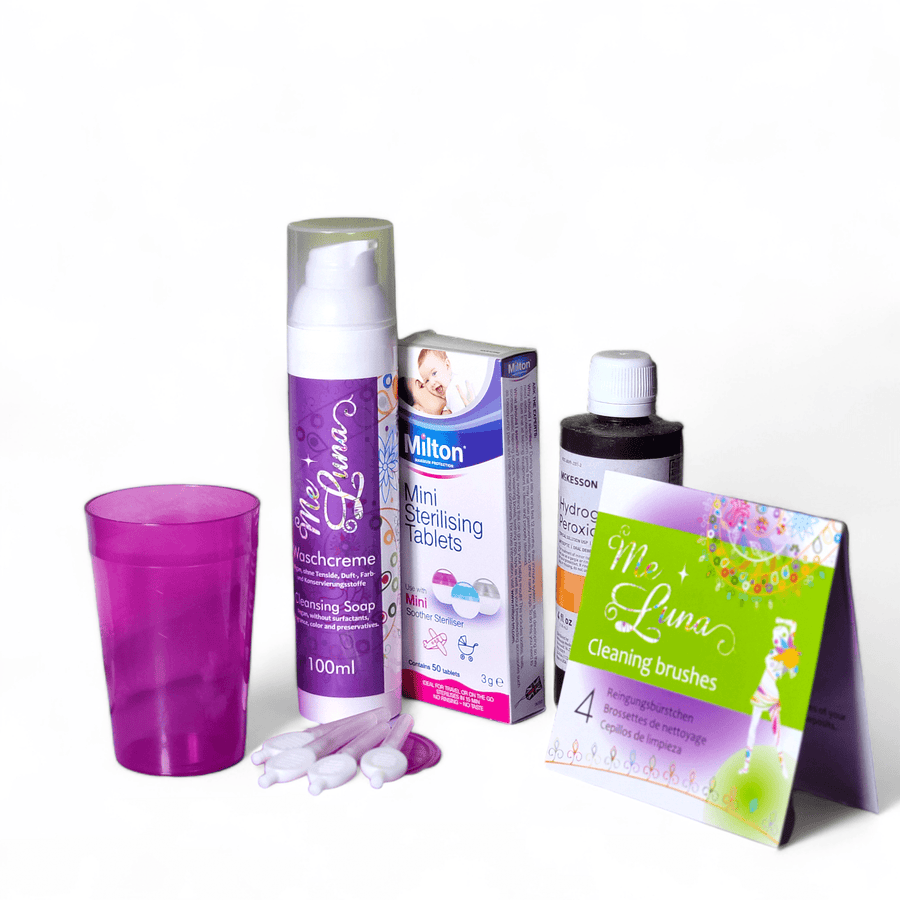
Hydrogen Peroxide Soak: Submerge your cup in 3% hydrogen peroxide for up to 10 minutes. Rinse thoroughly with water after soaking.
-
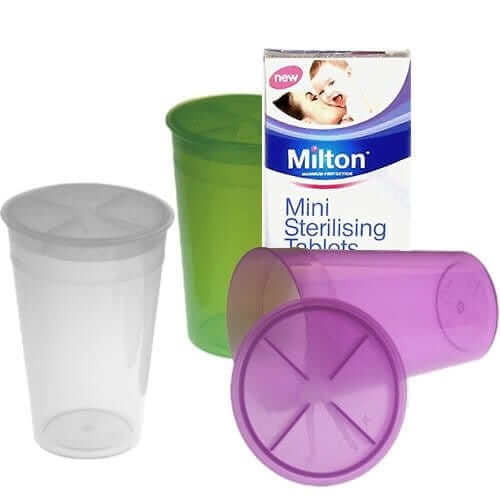
Milton Sterilizing Tabs: These are safe for menstrual cups and can help lift stains.
👉 Shop Milton Tabs here -
Daily Cleaning: Use a mild, cup-safe detergent and warm water. Scrub gently with a soft cloth or our air hole cleaning brushes to keep stains from setting in.
👉 Cleaning the Menstrual Cup
🛡️ How to Prevent Menstrual Cup Stains
Prevention is key! Here's how to stop stains before they start:
-
Always rinse your cup with cold water first before using any heat (like boiling or microwaving). Heat sets stains permanently.
-
Never boil a dirty cup—this will likely "bake in" any surface stains.
-
Clean your cup thoroughly after every use, and disinfect it only after it’s clean.
Final Thoughts
Stains may be a normal part of menstrual cup use, but with the right care routine, you can keep your cup looking great for years. And remember—stains don’t affect performance. A well-cleaned cup is still a safe, reliable, and eco-friendly period care choice.
Related Posts:


More from the blog
View all


Leave a comment